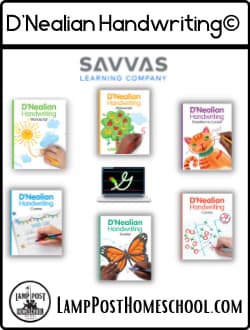
Give Your Child the Gift of Beautiful, Legible Handwriting!
Find the penmanship that fits your child with our tips for choosing your homeschool handwriting curriculum. [Read more…]
Learn Handwriting and Penmanship for Grade K-6th
Tips for Choosing Homeschool Handwriting Curriculum
By Harriet Yoder
When customers ask about choosing a penmanship curriculum, I recommend using two handwriting workbooks.
- The first is a manuscript handwriting workbook.
- When it is time for cursive, buy a cursive penmanship workbook.
Teaching handwriting in the homeschool setting differs from the classroom environment. Homeschool teachers watch the student’s handwriting and provide instant feedback. Our students don’t need busy work. Once they learn basic printing, they need not review it every year. We need not use a repetitive handwriting book every year.
If your student is creative and wants a chance to individualize the letters, try Teach Yourself Cursive.
Why not teach a different handwriting course every year?
When you see an incorrect letter show your student how to write it. Say “Let’s make that letter like this!” Show the child how to do it the right way. Then ask the child to write a couple for practice. Draw a little heart or star above the best one. If the child makes a fantastic/perfect letter or word, I question them (it’s a joke!), “Did I make this beautiful letter or did you?” They always think that’s hilarious and TRY harder to make nicely shaped letters to “fool” me.
Recommendations for Beginning Homeschool Handwriting Curriculum
- Horizons Penmanship workbooks and teacher’s guides are available for first through sixth grades.
Our sons used these when they were in junior high to spruce up their handwriting—Sometimes motivation and readiness help the learning process.
Ready for Cursive Handwriting?
I have two simple guidelines to determine when to teach cursive handwriting.
- Has the child mastered printing?
- Tall letters are tall.
- Short letters are short.
- Printing is neat and flowing.
- Can he print all the upper and lower-case letters of the alphabet from memory?
- If he misses a few, then you can focus on teaching those until the child is ready to learn cursive.
There are two aspects to learning cursive:
- Learning to make the new shapes of cursive letters
- Learning to connect letters in cursive.
Learning new shapes is less difficult for most children. Making connections usually causes the problem.
If your student doesn’t understand this, make a special notebook with 26 pages. Fold each page in half lengthwise to make two columns. On page 1 in the first column write (in cursive) aa on line 1, ab on line 2, ac on line 3, ad on line 4, etc. The student will copy each “connection” about two or three times. SAVE the second column of each page for later. On page 2 you will write the b connections (ba, bb, bc, bd, be, etc.). On page 3, you will do the c connections. Continue until you create page 26 for the z connections!
Maybe you guessed the second column is for repeating with uppercase letters. The upper case letters and their connections. Some uppercase cursive letters stand alone. Others connect, but you have to practice! Repeat from page 1: Aa, Ab, Ac, Ad, etc. to page 26 Za, Zb, Zc, Zd, etc.
Some of those connections aren’t “Englishly” possible. There are other languages which use them. Children sometimes create unusual words when they write. And so do I!


